Here's a little tutorial on putting Frankenstein together (and the small mat cookie tower that is in two pieces really) for those of you who need it:
These are the pieces that should cut out when you cut the top and bottom for the franky tower. Note that the top (in dark grey) has three pieces, the bottom (in green) has four pieces, and I cut out an additional two circles in black at about .65 inches and two circles in white at about .9 inches (not shown - whoops).

First, put the two large pieces for the actual box together by lining up the flap and the circle cut out, making sure that the tab for connecting the two on the side matches up (look at the very left hand side of the picture). Put adhesive all the way across the top of the bottom piece as shown.

Attach the two so that the box is now in one piece.

Score lines (starting from the right) at 2.75 inches. Do this four times (2.75 inches from the last score line). Score from the bottom about 1.75 inches up.

Score from the top about 1.75 inches down from the top of the flap and then again from the bottom of the flap.

Follow the rest of the directions under
this post for finishing folding the tops and putting on the acetate, etc.
I hope ya'll aren't sick of the cookie towers yet, because I've been telling people that I was going to make a version for the baby bug. So, I did. It posed a bit of a problem for me. I couldn't make it the 6" size or you would have made a box that was about an inch or so tall with mostly the top triangle and the closure for the bottom. You'd be giving away like two cookies! I also couldn't make the width total 6", or you would be making 1" cookies to give away! So, I had to opt for piecing. I have a top and a bottom for you baby buggers out there. I didn't make a smaller version for this tower because I figured it would be easy to cut it down to whatever size you wanted it. You'll notice that I just moved the cookie tower up for the bottom. Just put the mat size to 6 x 12 for each of the files and you're golden!


For everybody else (and the baby buggers too), I also created a file for a frankenstein tower. It's a little bigger than the small version of the tower. This is also a two piecer and I thought it would be fun to show you what you could do with this new take...two different pieces of paper, designed in a fun way...this cut is so versatile!!! I had no idea when I first designed the tower that it would work for so many different things. (Patting myself on the back) So I really hope you have a need this Halloween for a fun treat bag. I thought it was a decent way to help those with only 6" mats and provide something for all the rest of us as well! Enjoy!
Here are the files for:
Cookie Tower - svg (This is for someone on the scal forum who specifically asked for it as .svg...I haven't cut it yet and the middle shape is not in there, but someone else cut it and said it worked great!)
P.S. I got the idea for this Franky from my dear SIL, Jill, who sent me such a cute card (below) a year or two ago and I loved so much that I kept it! He's so cute! Thanks Jill! Of course, the Frankenstein face svg can also be used to make this little card! Hooray!

 And here it is! I created a picture in inkscape with a free Christmas background I found online and added some text and colored box shapes. Then of course I sent it to Michelle who promptly fixed it and changed my png to a jpg for me. She really made it turn out beautiful and it was such a fast way to get 20 cello bags done!
 These are the ones Michelle made...so cute!
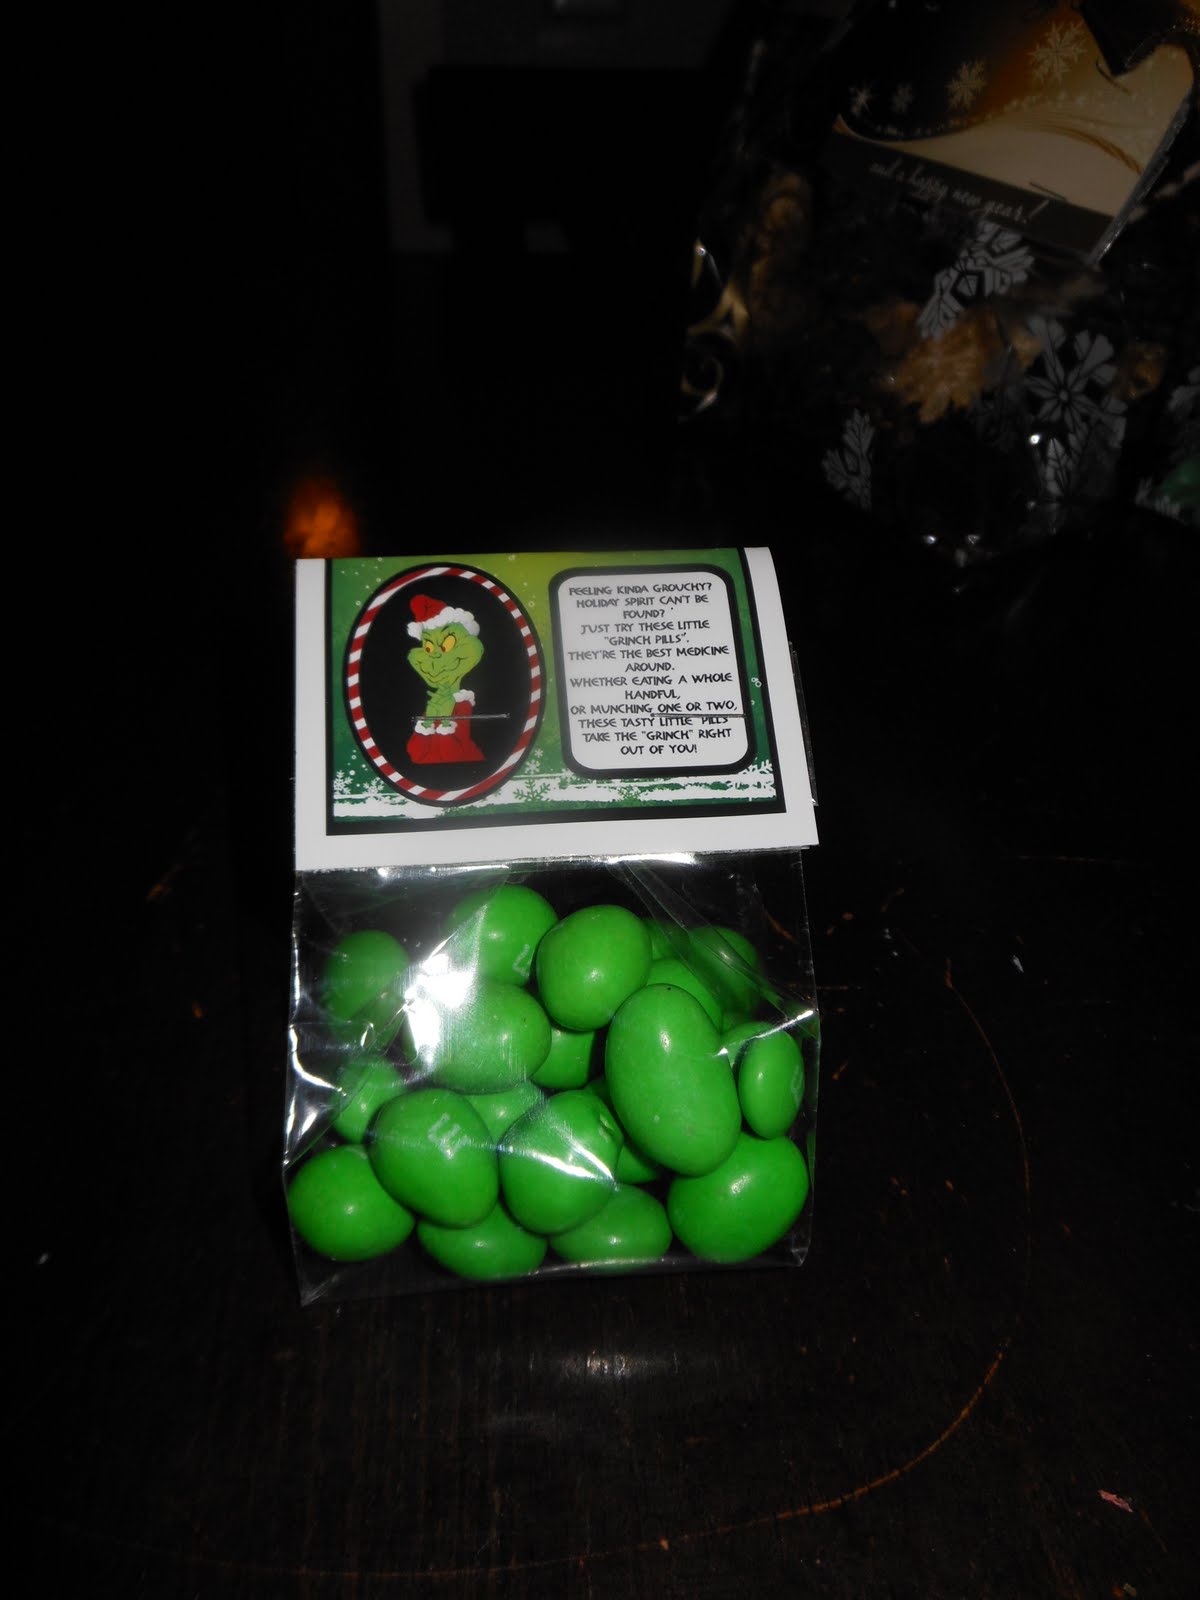 Rudolph Spares:


